How to add column
In this comprehensive guide, we'll walk you through the process, ensuring you can effortlessly enhance your database structure.
Step 1: Access Table Details
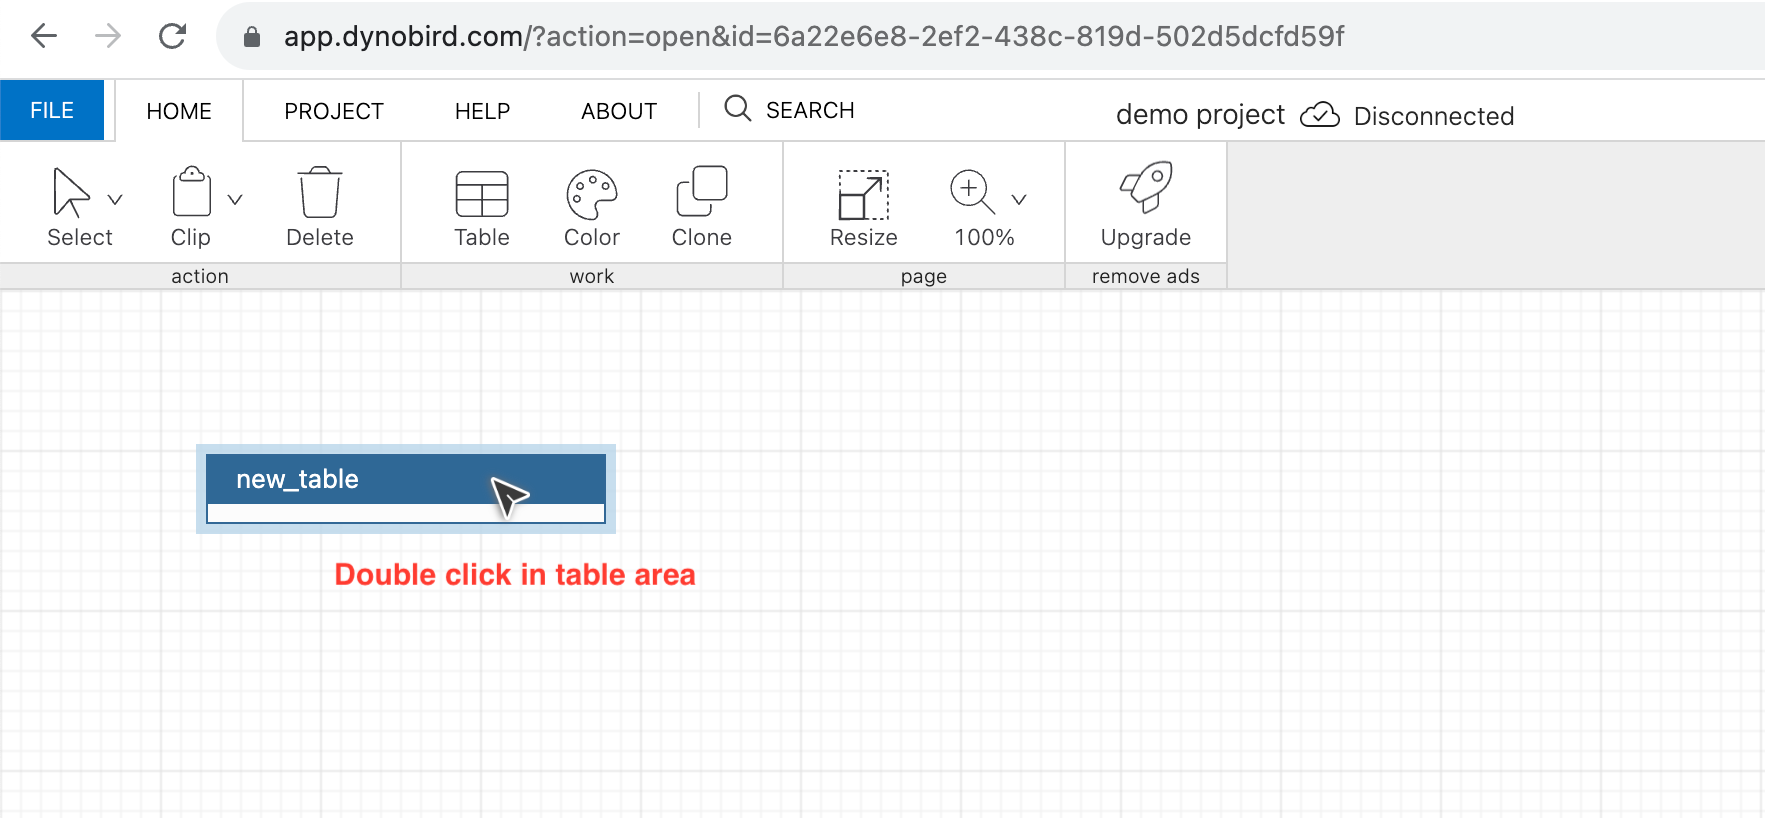
- Open your project in Dynobird Online Database Designer.
- Locate the table you want to modify and double-click on it to reveal the table details.
Step 2: Add a New Column
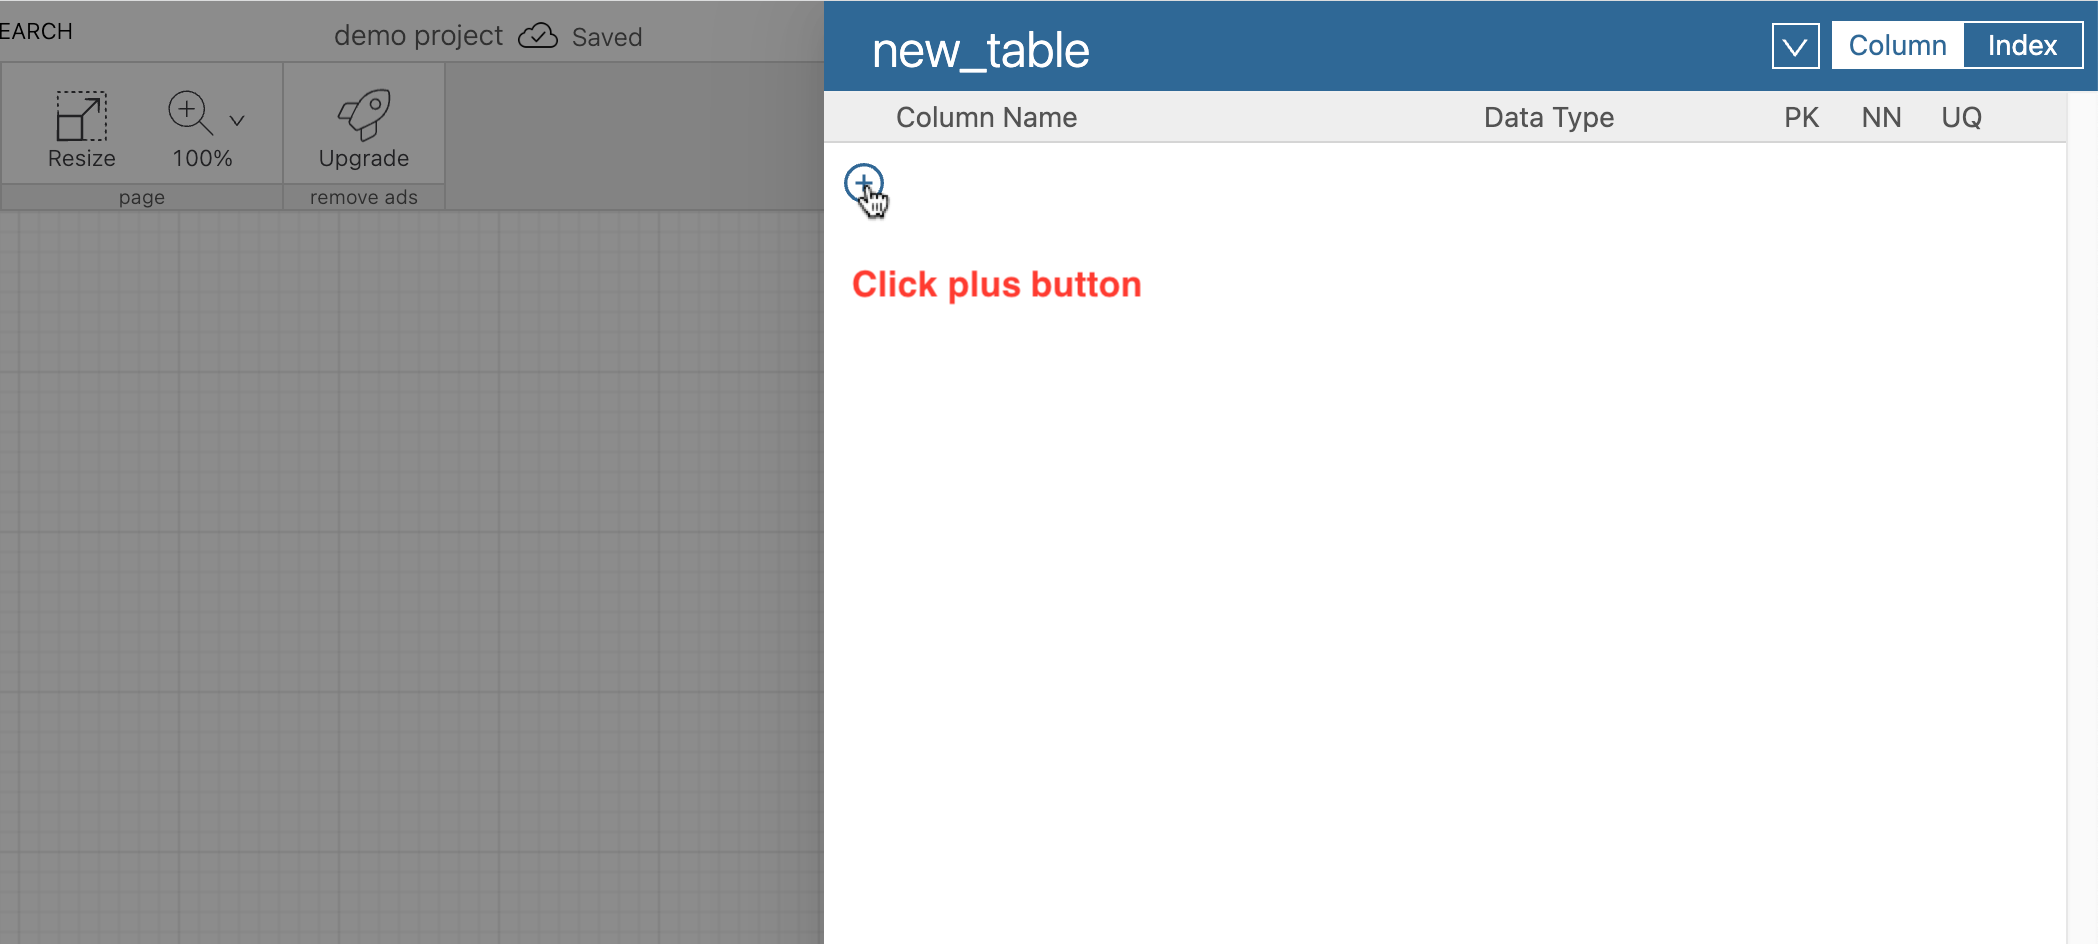
- Once inside the table details, find the "+" button dedicated to adding columns.
- Click on the "+" button, and voila! You now have a new blank column ready for customization.
Step 3: Customize Your Column
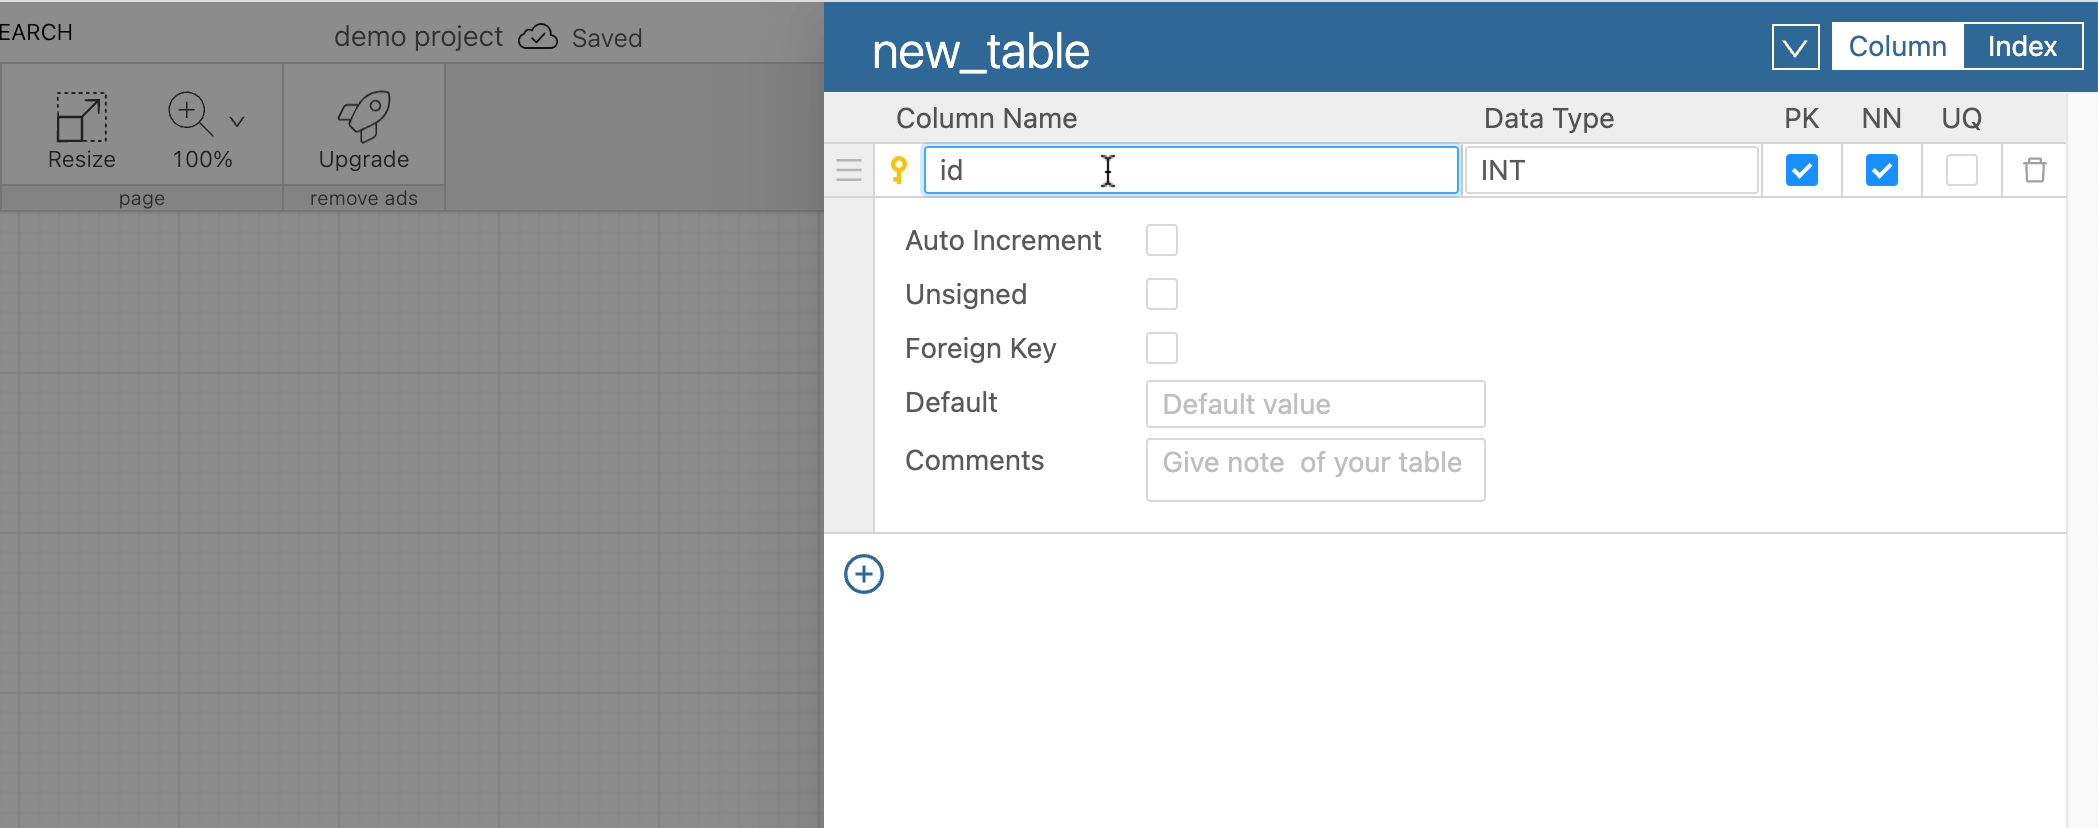
- Update the Column Name: Give your column a meaningful and descriptive name.
- Choose the Column Type: Select the appropriate data type for your column from the available options.
- Set as Primary Key: If necessary, designate the column as a primary key to uniquely identify each record.
- Specify Not Null: Ensure data integrity by marking the column as "Not Null" if it should always contain a value.
- Make it Unique: If your data requires uniqueness, enable the "Unique" option for the column.
Conclusion:
Congratulations! You've successfully added and customized a new column in DynoBird Online Database Designer. This user-friendly process ensures that your database remains flexible and adaptable to your evolving needs.